
How to Keep Characters Consistent in Veo 3
Learn a practical Veo 3 character consistency workflow using reference images, fixed descriptions, controlled shots, and reusable prompt templates.
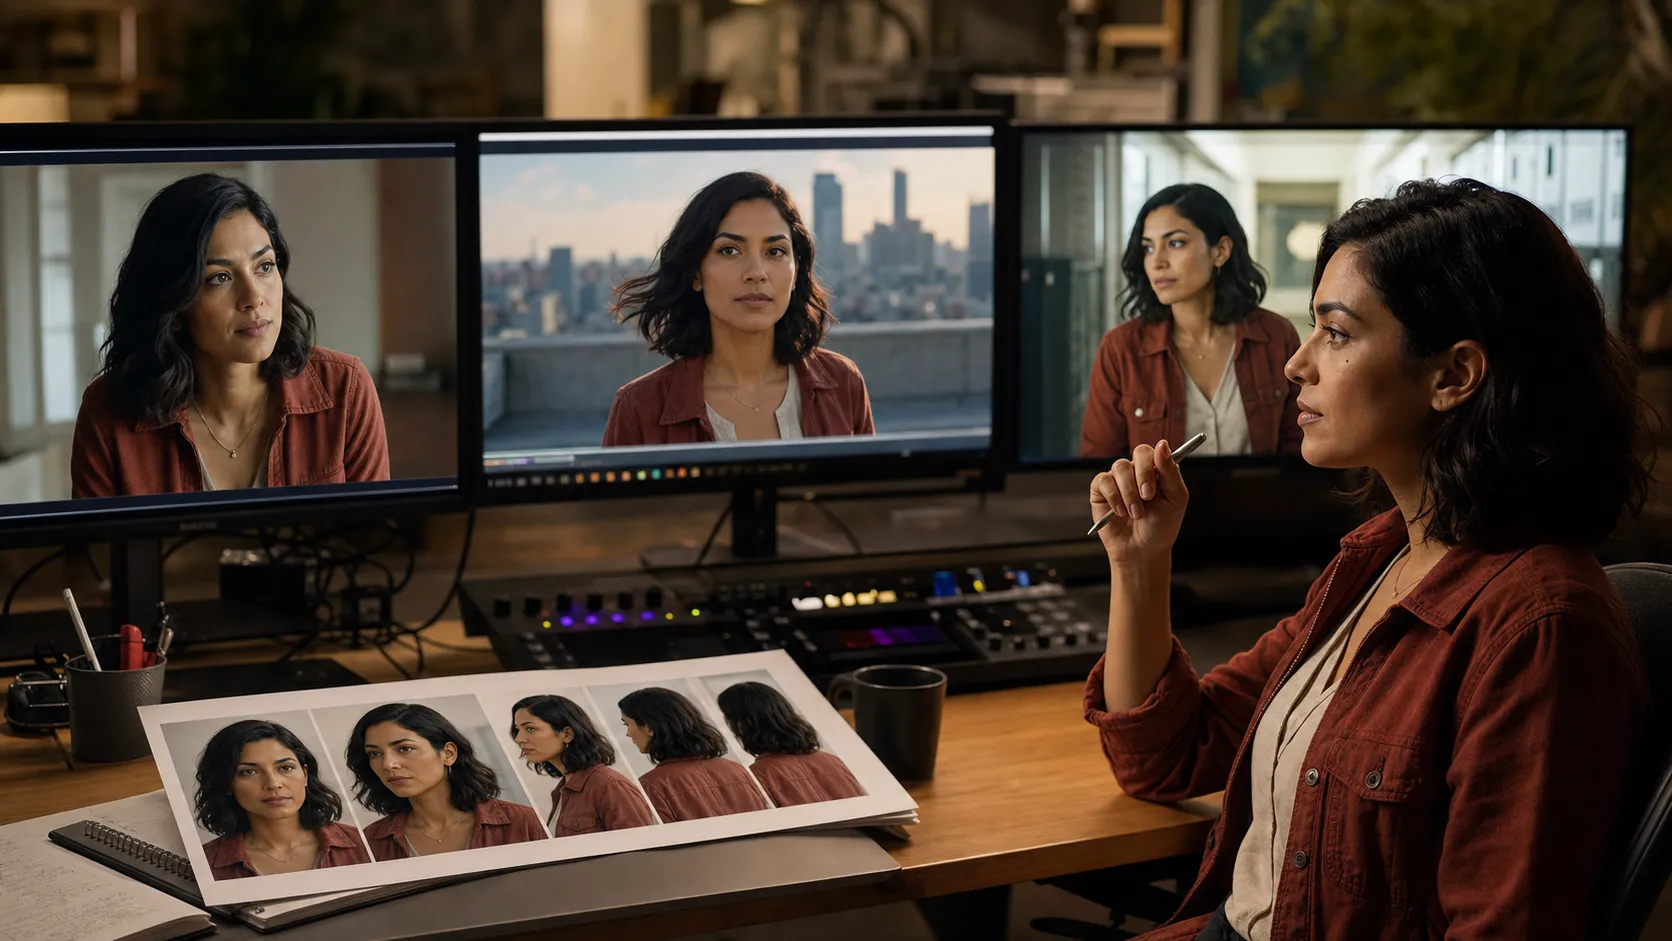
Veo 3 character consistency is the challenge of keeping the same face, hairstyle, clothing, proportions, and visual identity across multiple generated clips. A character may look correct in the first shot, then become subtly younger, change clothes, or develop a different face in the next one.
The reliable solution is not a single magic phrase. It is a controlled workflow built around reference images, a fixed character description, simple shot design, and consistent visual conditions.
If you already have a character image, start with the Veo 3.1 1080p generator and select its Reference Images mode. It accepts up to three reference images in Fast mode, giving the model clearer identity anchors than text alone.
Quick Answer
To keep a character consistent in Veo 3:
- Create a small reference set showing the same character clearly.
- Write one canonical character description and reuse it without rewriting.
- Generate each shot with the same reference images and identity description.
- Keep wardrobe, lighting, lens, and camera distance controlled.
- Give each clip one main action instead of an entire scene.
- Use first-and-last-frame control or scene extension when continuity between clips matters.
- Review every output against a continuity checklist before generating the next shot.
Google DeepMind specifically recommends giving Veo character reference images to help maintain appearance across scenes. Reference images improve control, but they do not make every generation identical. You still need disciplined prompting and shot planning.
Why Characters Drift Between Veo 3 Clips
Each independently generated video is a new synthesis task. The model does not automatically treat a character from a previous exported clip as a permanent actor with an unchanging identity.
Text descriptions also leave room for interpretation. A phrase such as “a young woman with brown hair” can describe thousands of possible people. Even a detailed description may produce variations when the lighting, camera angle, expression, wardrobe, or environment changes.
Character drift usually appears as:
- A different face shape, age, or skin texture.
- Hair length, color, or styling changes.
- Clothing details, accessories, or colors disappearing.
- Body proportions changing between wide shots and close-ups.
- A realistic character becoming stylized or overly polished.
- A voice changing between dialogue clips.
- Background characters being mistaken for the main subject.
The goal is therefore to reduce the number of decisions the model must reinterpret in every shot.
Step 1: Create a Character Bible
A character bible is the single source of truth for the character. It should be specific enough to identify the person but short enough to reuse in every prompt.
Include stable visual traits:
- Approximate age range.
- Face shape and defining features.
- Skin tone.
- Eye color and shape.
- Hair color, length, texture, and style.
- Body type and height impression.
- Signature clothing and accessories.
- Voice qualities when dialogue is required.
- The visual style of the project.
Here is a reusable example:
Mara is a woman in her early thirties with an oval face, warm olive skin, dark brown almond-shaped eyes, and a small beauty mark below her left eye. She has shoulder-length wavy black hair parted on the right. She wears a rust-red canvas jacket over a cream shirt, dark jeans, and a thin silver necklace. Her voice is calm, low, and slightly raspy.
Copy this block into every shot prompt exactly. Do not shorten it to “the same woman,” and do not casually replace words such as “wavy black hair” with “curly dark hair.” Those edits introduce new interpretations.
If your starting description is rough, use the Veo 3 prompt generator to expand it, then manually remove anything that should not become a permanent identity trait.
Step 2: Build a Clean Reference Image Set
Reference images provide stronger visual anchors than text alone. Google’s Veo documentation describes asset-reference workflows that can use up to three images of a person, character, or product to preserve appearance in generated video.
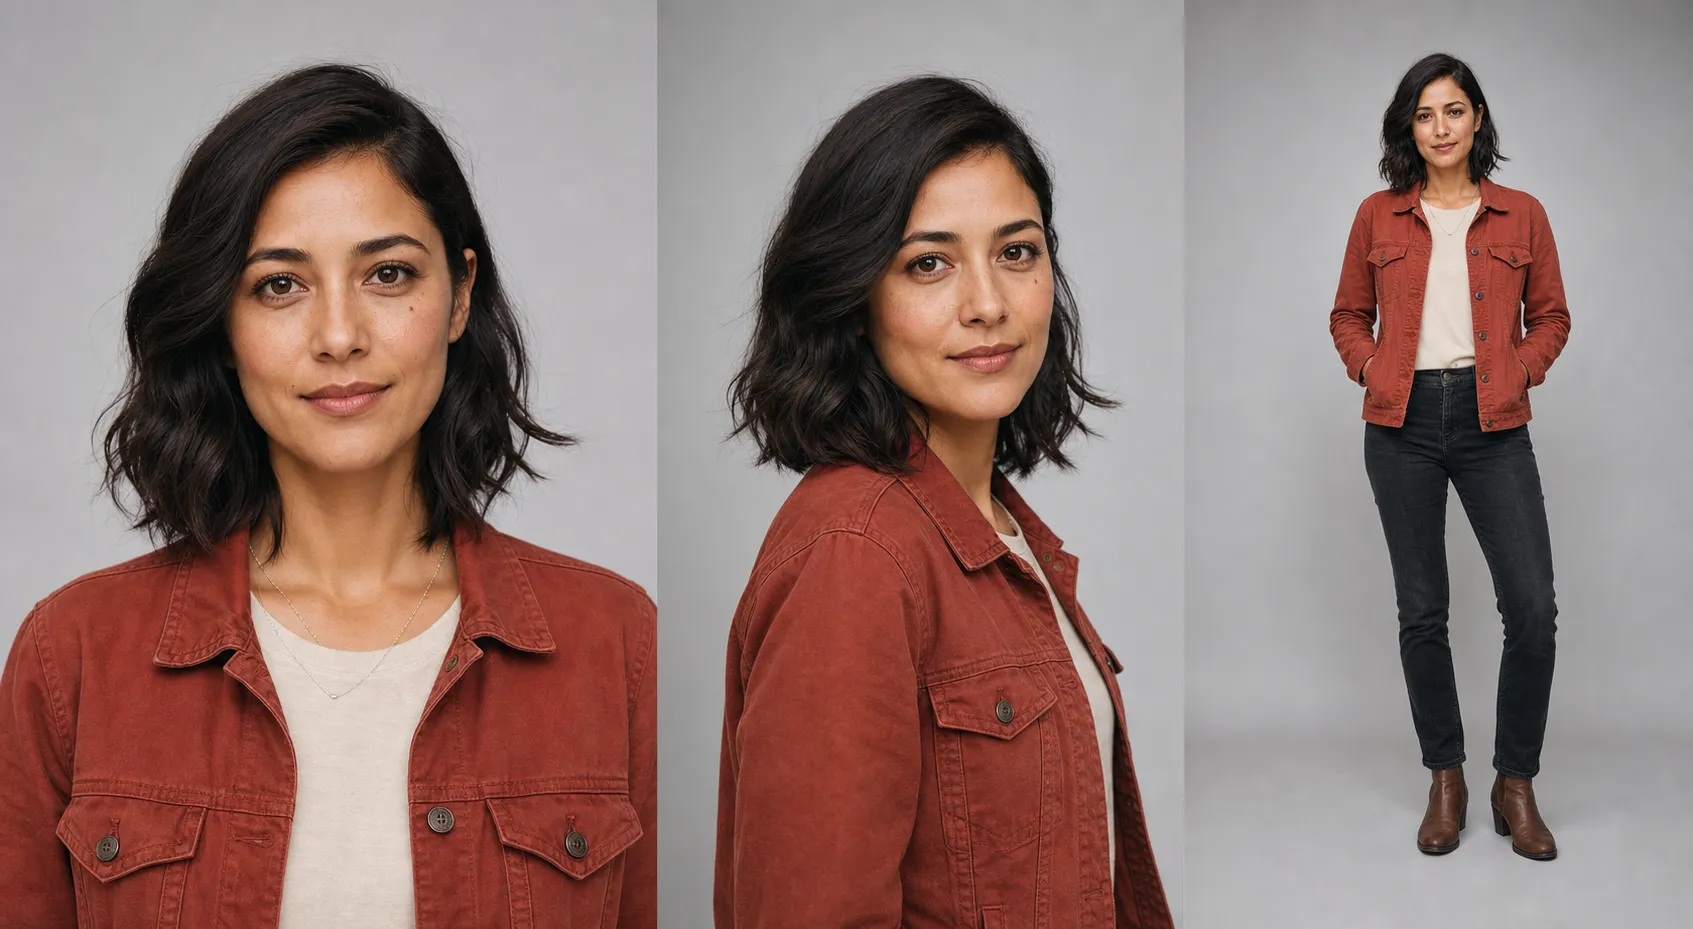
A useful three-image character set contains:
- A clean head-and-shoulders portrait.
- A three-quarter or side view.
- A full-body image showing wardrobe and proportions.
All images should depict the same identity, outfit, age, hairstyle, and visual style. Avoid mixing a studio portrait with a cartoon illustration or combining noticeably different versions of the character. Contradictory references make the model decide which version to follow.
Choose images with:
- A clearly visible, unobstructed face.
- Neutral or readable lighting.
- Minimal motion blur.
- No heavy beauty filters.
- No additional people.
- Consistent clothing and accessories.
- Enough resolution to preserve facial details.
If you need to design the character before animating it, the Nano Banana and Veo 3 workflow can help you create a strong source image and then move that visual direction into video.
Step 3: Pick the Right Veo Workflow
Different continuity problems need different controls.
Use Reference Images for Identity
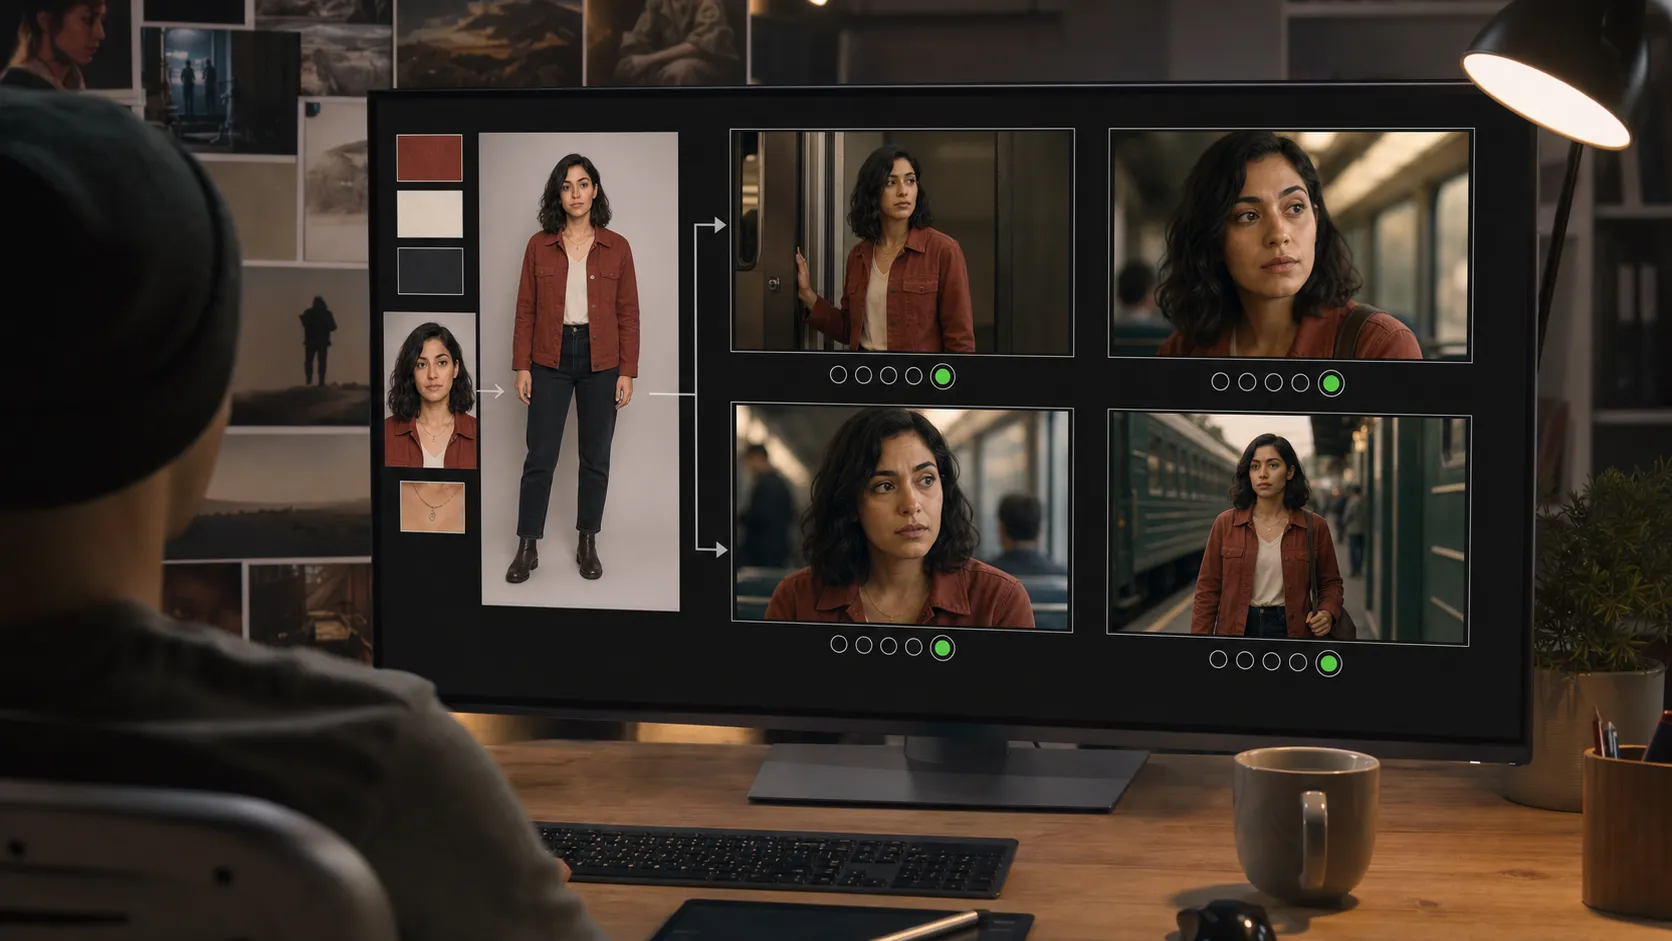
Reference-image generation is the best starting point when the character must appear in multiple independent scenes. Reuse the same reference set for every shot and pair it with the same character-bible text.
In Veo3Flow, the Reference Images task in the Veo 3.1 1080p generator supports one to three images in Fast mode. This is the most direct workflow for identity-led generation.
Use First and Last Frames for a Planned Transition
First-and-last-frame generation is useful when the opening and ending compositions are already known. It can guide a transformation, camera move, change of location, or match cut while anchoring both endpoints.
Use the first-frame to last-frame video generator when you need to connect two prepared images. Keep the same character design in both frames; the prompt should describe the motion between them rather than redesigning the subject.
Use Scene Extension for Continuous Action
When one shot already looks correct, extending it can preserve more continuity than starting again from a blank prompt. Google describes Veo scene extension as using the end of an existing shot to continue the story while maintaining visual and audio consistency.
Extension is especially useful for a walk, conversation, reveal, or camera move that needs more screen time. It is less useful when the next scene requires a completely different location or composition.
Step 4: Lock the Character Block Inside Every Prompt
A strong multi-shot prompt has two layers:
- A locked identity block that stays unchanged.
- A shot block that changes only the action, framing, and scene.
Use this template:
CHARACTER LOCK:
[Paste the exact canonical character description.]
Preserve the same facial structure, age, hairstyle, wardrobe, accessories, body proportions, and voice.

SHOT:
[Shot size and camera angle]. The character [one clear action] in [specific location].
[Lighting and color direction]. [Camera movement and lens feeling].

AUDIO:
[Ambient sound]. The character says, "[short dialogue line]," in the same calm, low, slightly raspy voice.

CONTINUITY:
Match the supplied character reference images. Keep the clothing colors and signature features unchanged. One continuous shot.
The CHARACTER LOCK section should remain verbatim. Treat it like code: modify the shot instructions, not the identity definition.
Step 5: Give Each Clip One Main Action
Complex prompts create more opportunities for drift. A request that asks a character to enter a room, change clothes, argue with someone, pick up an object, and run outside is effectively asking the model to maintain identity through several visual transitions.
Break that sequence into separate shots:
- Shot 1: The character enters and pauses in the doorway.
- Shot 2: A medium close-up shows the character reacting.
- Shot 3: The character picks up the object.
- Shot 4: A wider tracking shot follows the character outside.
Short, single-purpose clips are easier to evaluate and replace. They also let you reuse a successful final frame as the starting point for the next shot.
Step 6: Control Camera, Lighting, and Wardrobe
Character consistency is not only about the face. A dramatic change in lighting or lens perspective can make the same identity appear different.
For the first sequence, keep these variables stable:
- Use similar shot distances, such as medium shot to medium close-up.
- Avoid jumping directly from an extreme wide shot to an extreme facial close-up.
- Keep the key light direction and color temperature similar.
- Use one wardrobe for the entire scene.
- Avoid hiding the face behind hair, hands, props, or deep shadow.
- Introduce extreme expressions only after the neutral identity is working.
- Keep one visual style instead of mixing photorealism, animation, and film emulation.
Once the character is stable, change one production variable at a time. For example, test a new location while keeping the wardrobe, camera distance, and lighting direction familiar.
Step 7: Plan Dialogue as Separate Coverage
Two-person dialogue is one of the hardest consistency tests because the model must manage two identities, mouth movement, eye lines, blocking, and audio at the same time.
A more reliable structure is:
- An establishing shot with both characters.
- A medium close-up of Character A speaking.
- A reaction shot of Character B.
- A medium close-up of Character B replying.
Generate each close-up with that speaker’s reference image and exact identity block. Keep dialogue lines short enough to fit naturally inside the clip. Specify the voice in the same words every time.
Example:
Mara is a woman in her early thirties with an oval face, warm olive skin, dark brown almond-shaped eyes, and a small beauty mark below her left eye. She has shoulder-length wavy black hair parted on the right. She wears a rust-red canvas jacket over a cream shirt, dark jeans, and a thin silver necklace. Her voice is calm, low, and slightly raspy.

Medium close-up at eye level inside a quiet train carriage at dusk. Mara looks toward the person seated opposite her and says, "I knew you would come back." She remains seated and gives a restrained, relieved smile. Soft blue window light and warm overhead practical lights. Locked camera, shallow depth of field. Quiet train ambience and distant rail sounds. Preserve her exact face, hairstyle, jacket, necklace, age, and voice from the supplied reference images. One continuous shot.
Step 8: Use a Continuity Checklist
Do not wait until the whole sequence is generated before checking consistency. Compare every accepted shot with the master references and the previous approved shot.
Track:
| Continuity item | What to verify |
|---|---|
| Face | Face shape, eyes, nose, mouth, age, beauty marks |
| Hair | Length, parting, texture, color |
| Wardrobe | Garment shape, color, buttons, patterns |
| Accessories | Jewelry, glasses, bag, watch |
| Body | Height impression, build, proportions |
| Voice | Pitch, pace, accent, vocal texture |
| Style | Realism level, color grade, film texture |
| Scene | Time of day, screen direction, prop placement |
Reject a shot early when a signature feature is wrong. Small drift becomes more difficult to repair when the incorrect clip is used as the reference for later shots.
Common Veo 3 Character Consistency Mistakes
Using Text Only for a Recurring Character
Text can establish a general person, but reference images provide a clearer identity target. Use text-only generation for ideation, not as the default for an important recurring character.
Rewriting the Character Description
Changing synonyms feels harmless to a writer, but it changes the model input. Store one approved identity block and paste it into every prompt.
Mixing Inconsistent Reference Images
Three contradictory images are worse than one clear image. Every reference should show the same version of the character.
Changing Too Many Variables at Once
A new outfit, location, camera angle, emotion, and lighting setup in the same shot can overwhelm the identity anchors. Change one or two variables at a time.
Asking for a Multi-Shot Film in One Generation
Cuts, time jumps, and transformations create natural points for identity drift. Generate a planned shot list and assemble the clips in editing.
Treating a Random Good Frame as the New Master
A visually attractive output may already contain subtle drift. Keep the original approved reference set as the identity source unless you intentionally redesign the character.
A Practical Veo3Flow Production Workflow
Start by creating or selecting the character’s master image. If the identity does not exist yet, design it with the Nano Banana and Veo 3 workflow. Create the character bible and store it with the project.
Next, make a low-risk test shot using Reference Images in the Veo 3.1 1080p generator. Use a medium shot, neutral expression, simple action, and controlled lighting. This establishes whether the references and description agree.
After the test succeeds, generate the sequence one shot at a time. Reuse the same references and identity block. For shots with specific endpoints, prepare matching images and use the first-and-last-frame workflow.
Finally, generate or upscale only the approved hero shots at higher resolution. The Veo 3.1 4K generator is best reserved for shots that have already proven their composition and character direction, so you do not spend the premium pass on unresolved continuity.
What Character Consistency Can and Cannot Guarantee
Reference images and fixed prompts can significantly improve continuity, but generative video remains probabilistic. Fine facial details, hands, accessories, logos, and exact wardrobe construction can still change.
For commercial work, plan for multiple takes and a review pass. If a detail must be legally or visually exact, such as a product logo, uniform badge, or specific piece of jewelry, consider adding it during editing rather than relying on every generated frame.
Use reference images only when you have the right to use them. Do not imitate a real person deceptively or create misleading footage. A fictional character sheet or an approved actor reference is a safer foundation for repeatable production.
Final Recommendation
The best Veo 3 character consistency workflow combines visual and textual anchors. Build one clean character reference set, write one canonical identity description, reuse both across every clip, and keep each shot simple.
Start in Reference Images mode with the Veo 3.1 1080p generator. Once the face, wardrobe, and voice are stable, expand the sequence with controlled coverage, first-and-last-frame transitions, or extension. Move only the approved shots into a 4K production pass.
Sources Checked
This guide was drafted against Google’s public Veo materials available in July 2026, including the Google DeepMind Veo overview, Google Cloud’s Veo 3.1 prompting guide, and the Vertex AI documentation for using reference images to guide video generation.
FAQ
Can Veo 3 keep the same character across multiple videos?
Yes, but the most reliable workflow uses Veo 3.1 reference images, a fixed character description, and consistent shot planning. Text-only prompts usually leave more room for identity drift.
How many character reference images should I use?
One strong image can work, while two or three consistent views provide more information about the face, profile, clothing, and proportions. Google documents support for up to three asset reference images in relevant Veo reference-image workflows.
What images work best for Veo 3 character consistency?
Use clear, high-resolution images with one visible character, readable facial features, consistent wardrobe, and minimal obstruction. A portrait, three-quarter view, and full-body view make a useful set.
Should I repeat the full character description in every prompt?
Yes. Reuse the exact approved description instead of shortening or paraphrasing it. The repeated block reinforces the same identity traits in each independently generated shot.
Can first-and-last-frame generation improve character consistency?
It can improve continuity when both endpoint images already show the same character design. It is especially useful for planned transitions, but the two frames must agree on identity, clothing, and style.
Is 4K better for character consistency?
Higher resolution can preserve more visible detail, but it does not replace good references or prompting. Establish the character and composition first, then use 4K for approved final shots.
Try It Yourself
Ready to generate your own AI video? Try it now and bring your prompts to life.
Veo 3 AI Video Generator